With pharmacies available every few kilometers, I do not feel compelled to carry much in the way of first aid supplies. I will, however, carry a small kit to hopefully prevent and deal with blisters should they occur. Hopefully, I’ll only need to administer aid to others and stay blister-free.
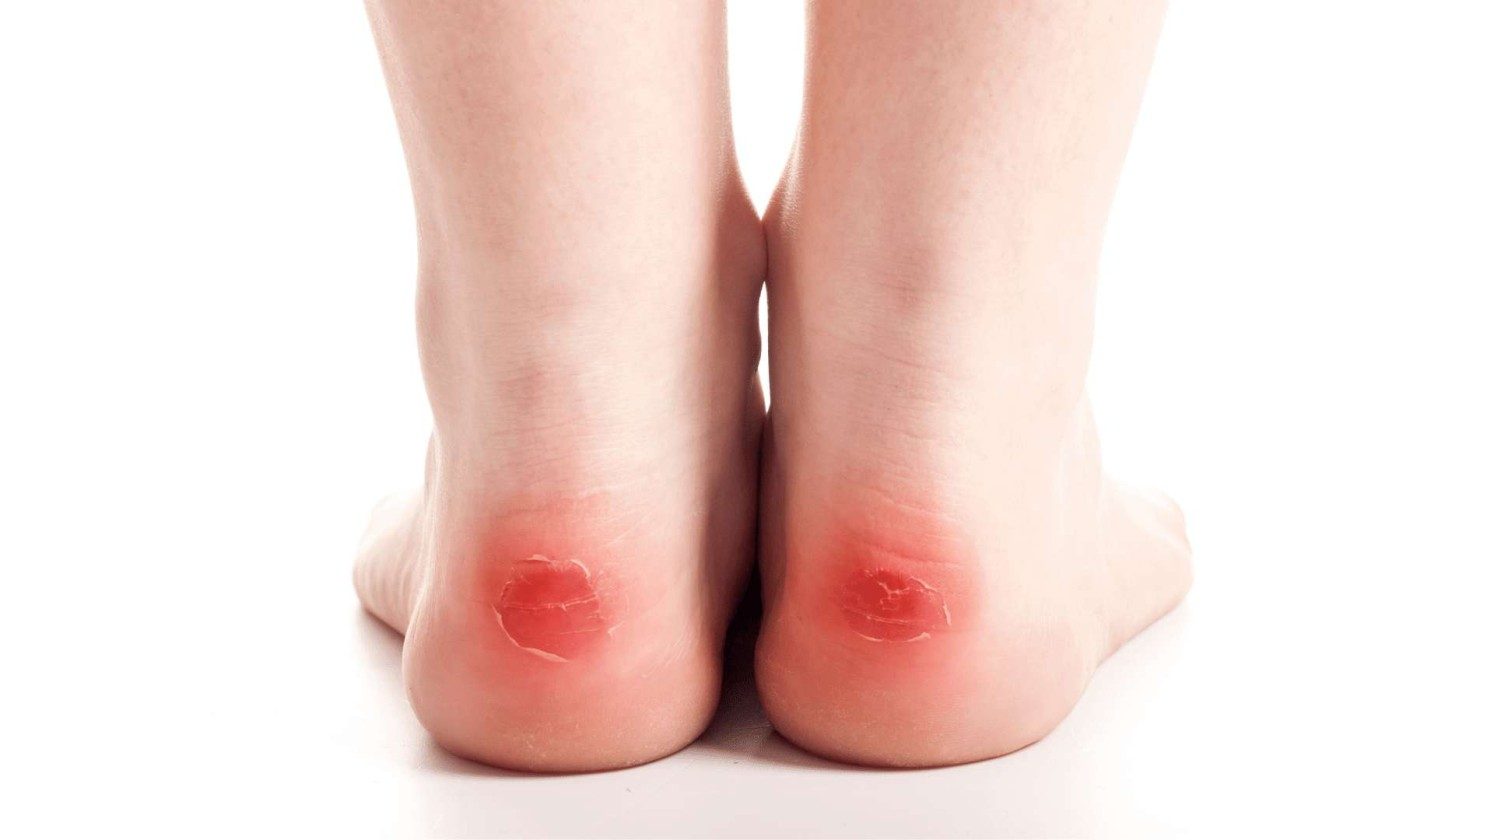
Blisters are caused by friction. The friction can be from ill-fitting shoes (too big or too small) or due to moisture from sweat, rain or stepping in water. The best way to avoid blisters are to have shoes that properly fit (and that you have trail proven before your big trip) and keeping your feet dry.
Keeping feet dry involves a variety of strategies: #1 – I’ve already posted about my choice of merino wool socks. These wick away moisture and I’ve found that even after long periods of walking (10+ miles) my feet are dry. Strategy #2 is to let your feet breath. When I walk the Camino, I expect to stop every couple of hours for a refreshment break. At each break, I’ll take my shoes and socks off to allow my feet to air out. Strategy #3 is to change socks if your feet do get wet. Socks are the only thing I plan to carry more then one extra pair. If my feet get wet, I’ll put on dry socks and hang the wet pair on the outside of my pack to dry.
I don’t know if a blister is technically considered a second-degree burn, but like burns, before a blister appears, you will have a “hot spot” which is akin to a first degree burn with red, irritated skin. If you experience a hot spot, you should stop and take immediate steps to prevent further irritation and head off the formation of a blister. I’ve heard many strategies for this: a blister patch, like Compeed; sock liners; medical tape; applying Vaseline; or my plan of using lamb’s wool.

If you do get a blister, the best advice is to leave it alone and let it heal. But for many hikers, this isn’t considered an option because it will mean a delay (or even cancellation) of their hike. For this reason, blisters are typically pierced with a sterile threaded needle. The needle and thread are run through the bubble of the blister (without breaking the lower skin layer). The thread is then clipped, leaving a bit of thread on each side of the bubble to allow any fluid to wick out. The area around the blister should be cleaned with an alcohol wipe or other disinfected. Please note, that this process does introduce the potential for infection and should be used with caution. If you notice any redness, inflammation, pain or colored fluid, seek medical attention.

So, the micro first aid supplies I will start with includes:
- Alcohol prep pads
- Sewing needle and thread
- Band-aids
- Compeed blister pads
Total weight: 13 grams – including the Ziplock baggie (less than one half ounce)


